Help
How can we help?
It's easy to invite your team members from your firm or organization to your BIMsmith account.
MyBIMsmith allows you to host and share BIM content in the cloud for free – all you need is a free BIMsmith account.
How to Invite Your Team to Your Firm or Organization Account on MyBIMsmith
If you have an existing account with BIMsmith and would like to be an administrator over your firm members (for example, in the role of a BIM Manager), the first step is to create an Organization with MyBIMsmith before you can invite your team members.
Before you add your team members, you may want to create a few streams (see What Are Streams on MyBIMsmith?), which allow you to organize saved Revit families from BIMsmith Market and Revit assemblies from BIMsmith Forge® by Organization, Team, Project Type, and Project. When you begin inviting your team members, you can choose what level of permissions you would like for them to have at each level.
For example, you may want a junior-level associate to only have access to the stream for a specific project that they are assisting, while you may want to grant a partner full access to all streams.
Once you have your streams in place and you're ready to invite your team, follow the following steps.
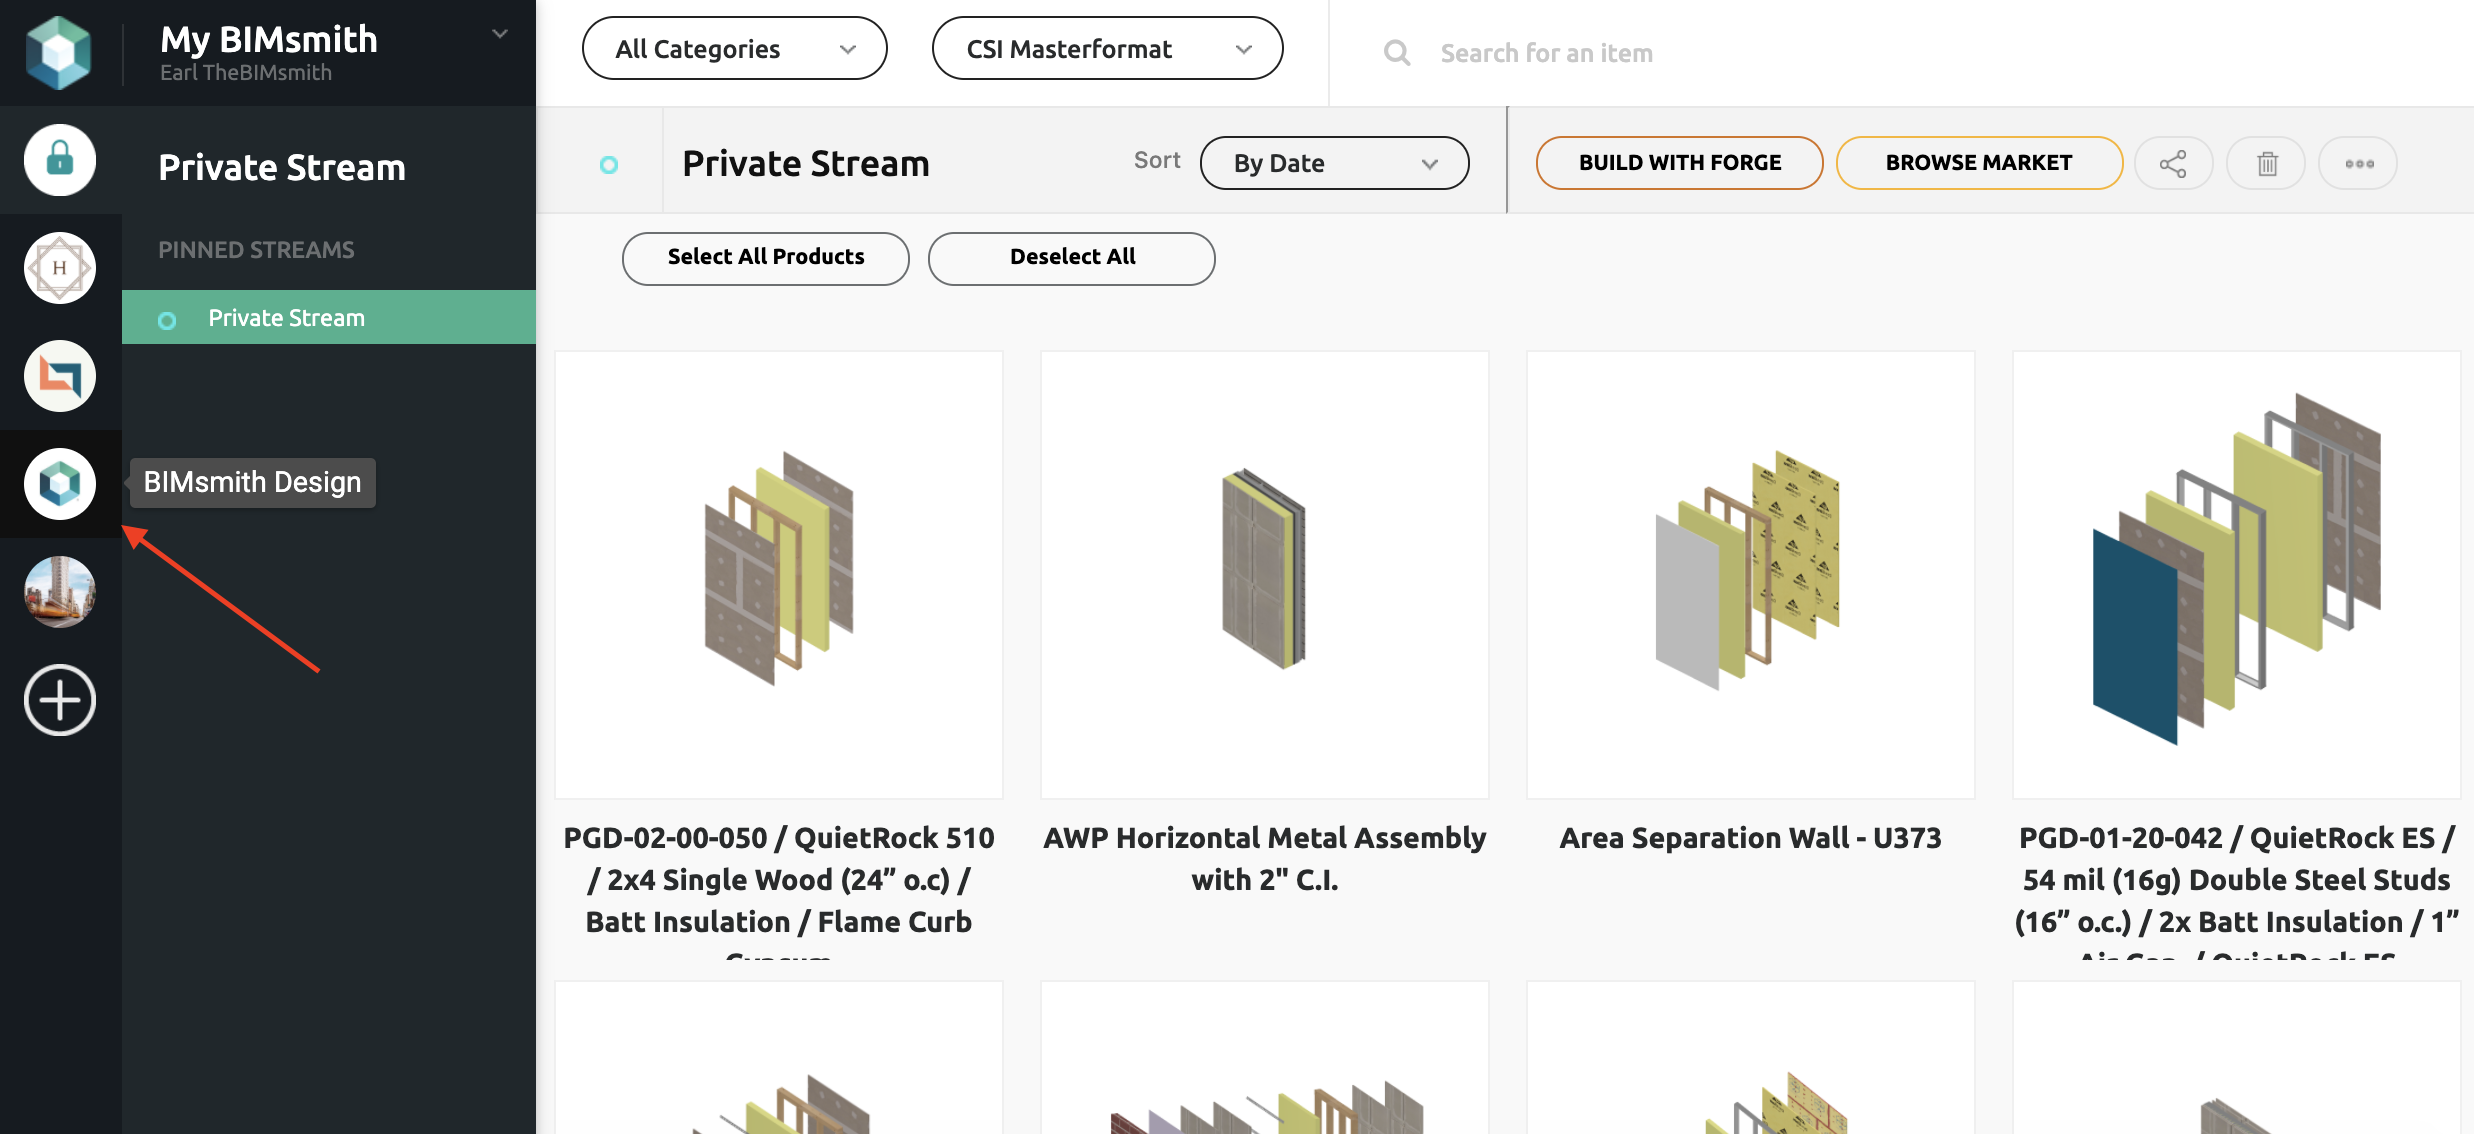
1. Log into your MyBIMsmith Account and select your preferred Organization from the menu on the left side of the screen.

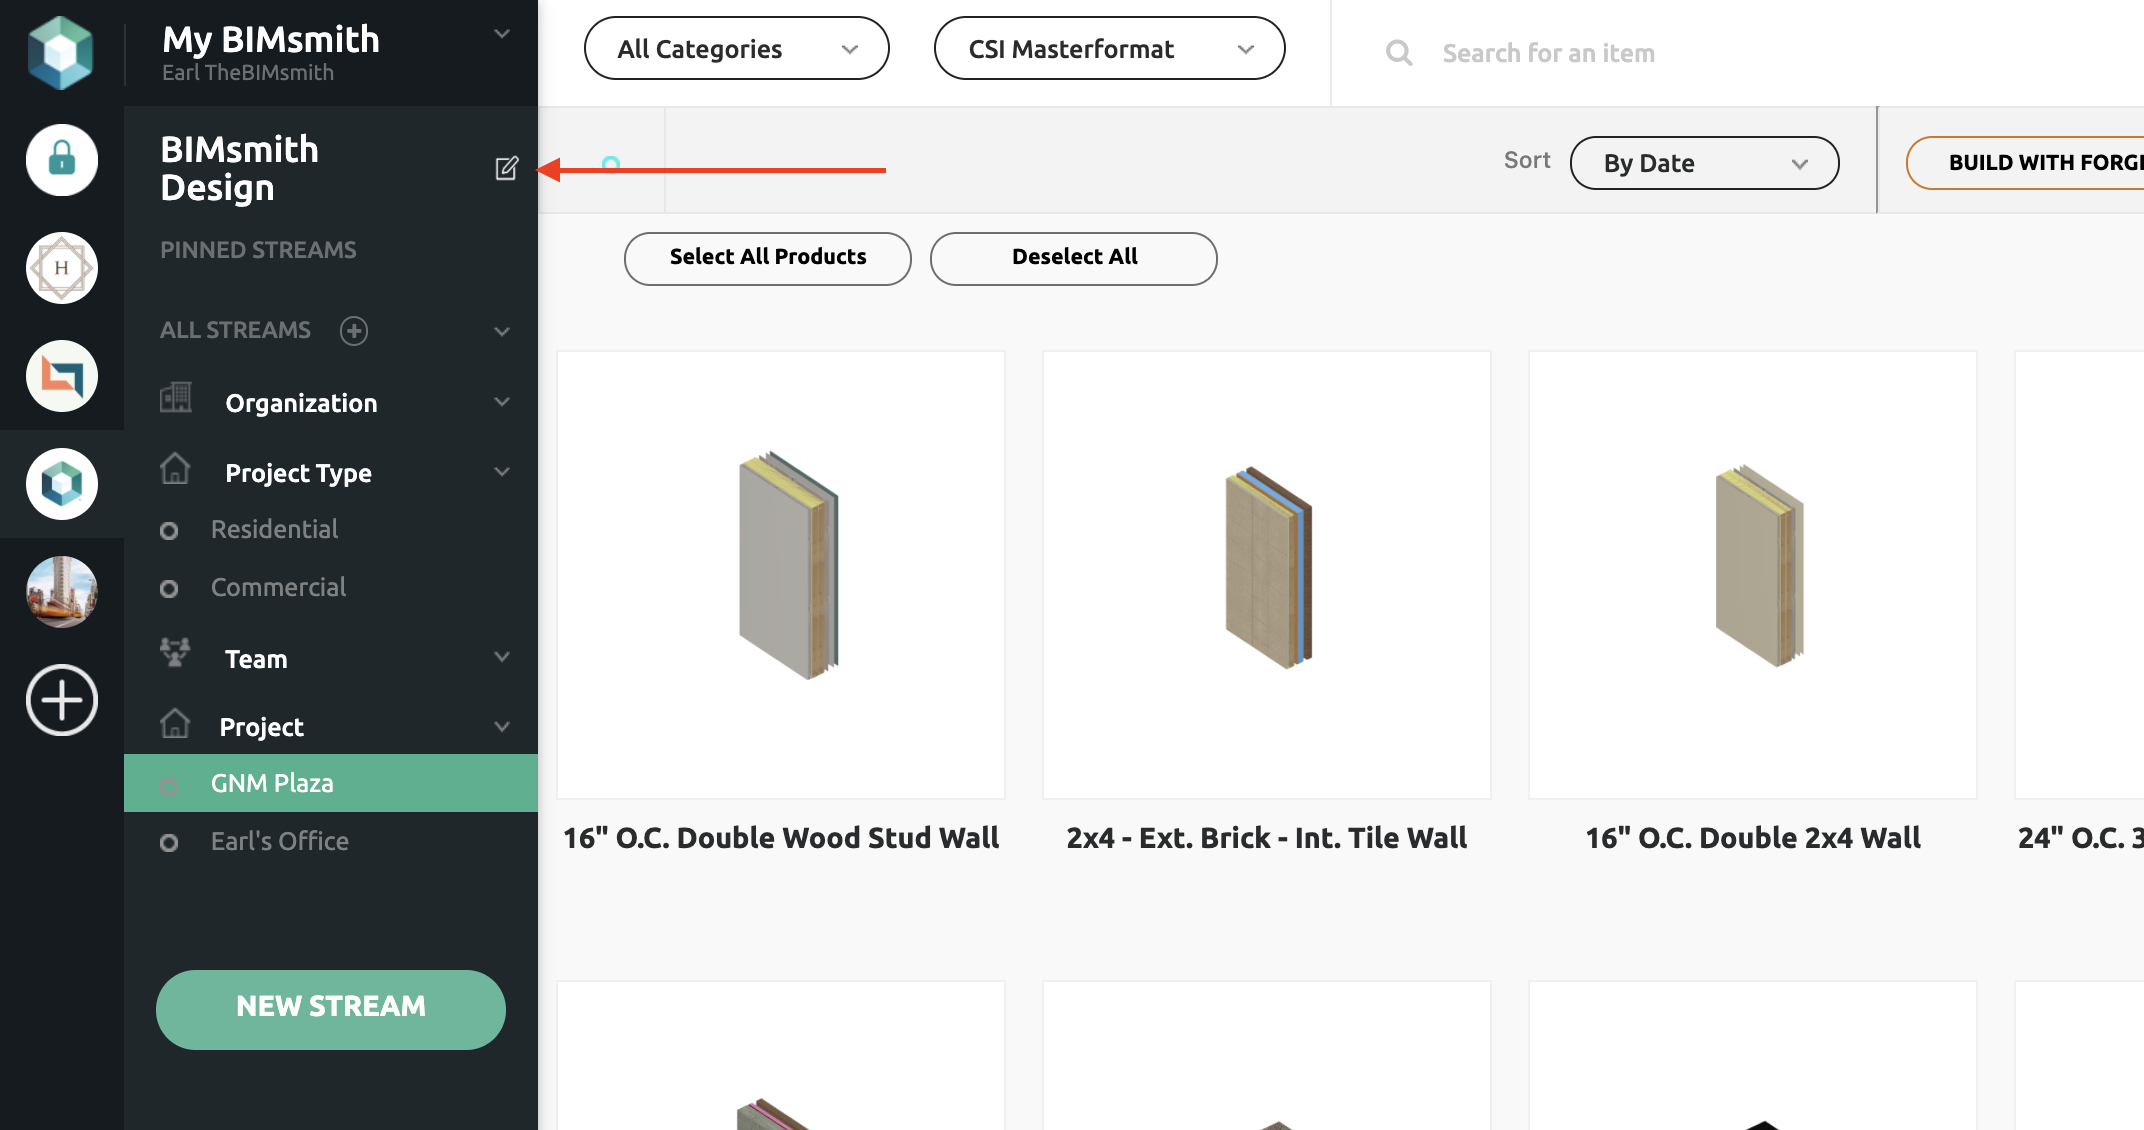
2. In the upper left corner, next to the Organization Name, click the Edit icon.
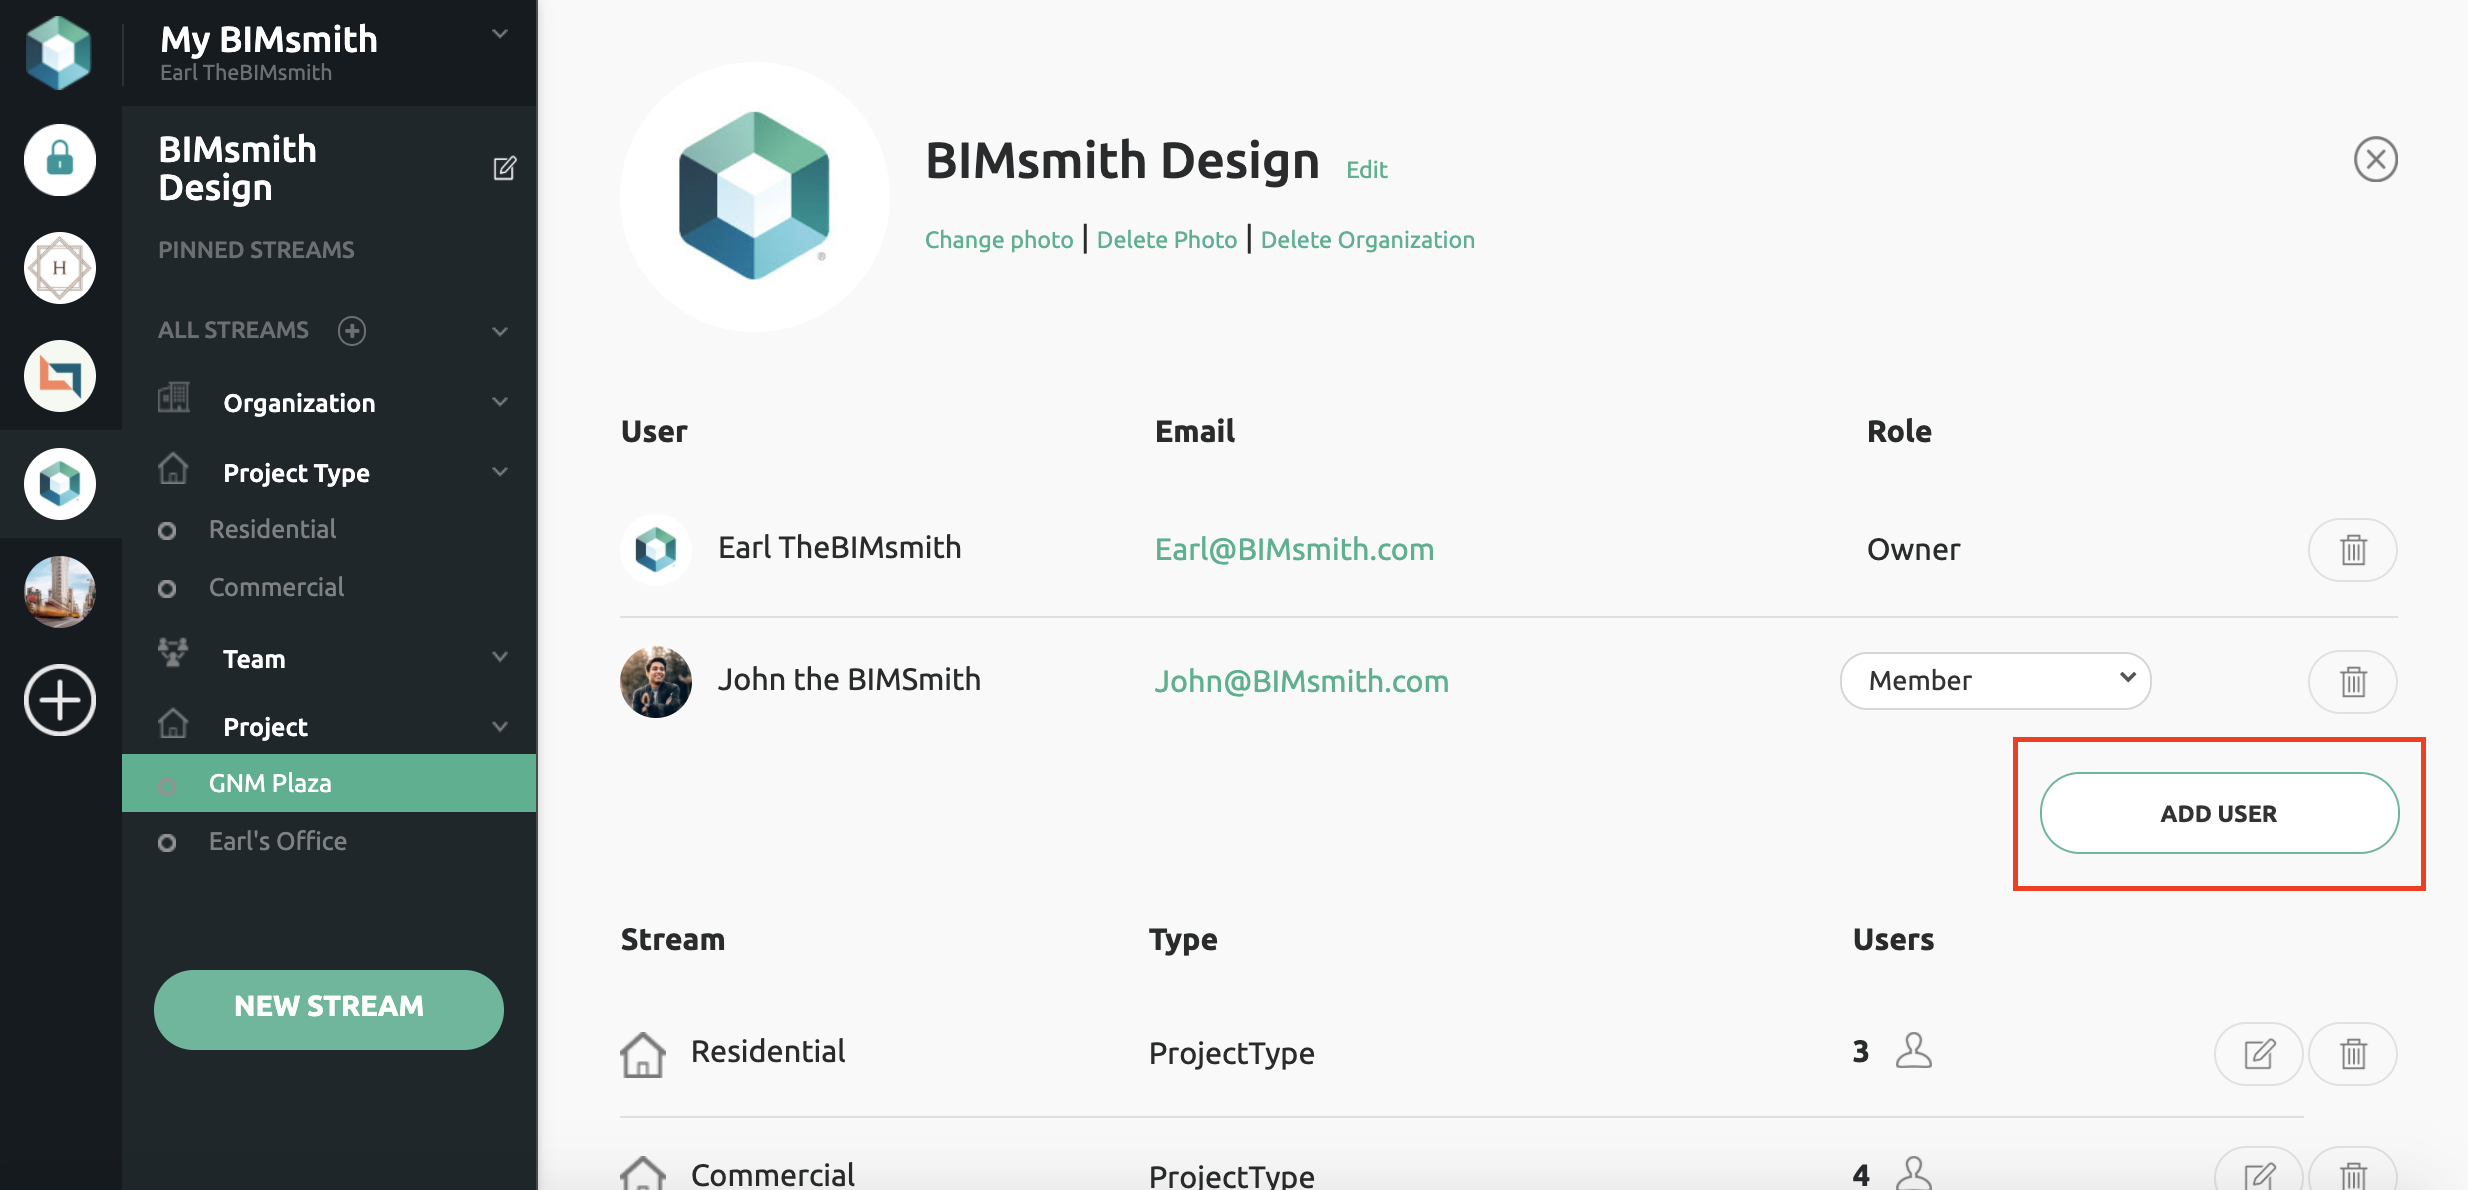
From this screen, you can view all users who have access to your Organization as well as all Streams.

3. Click Add User.

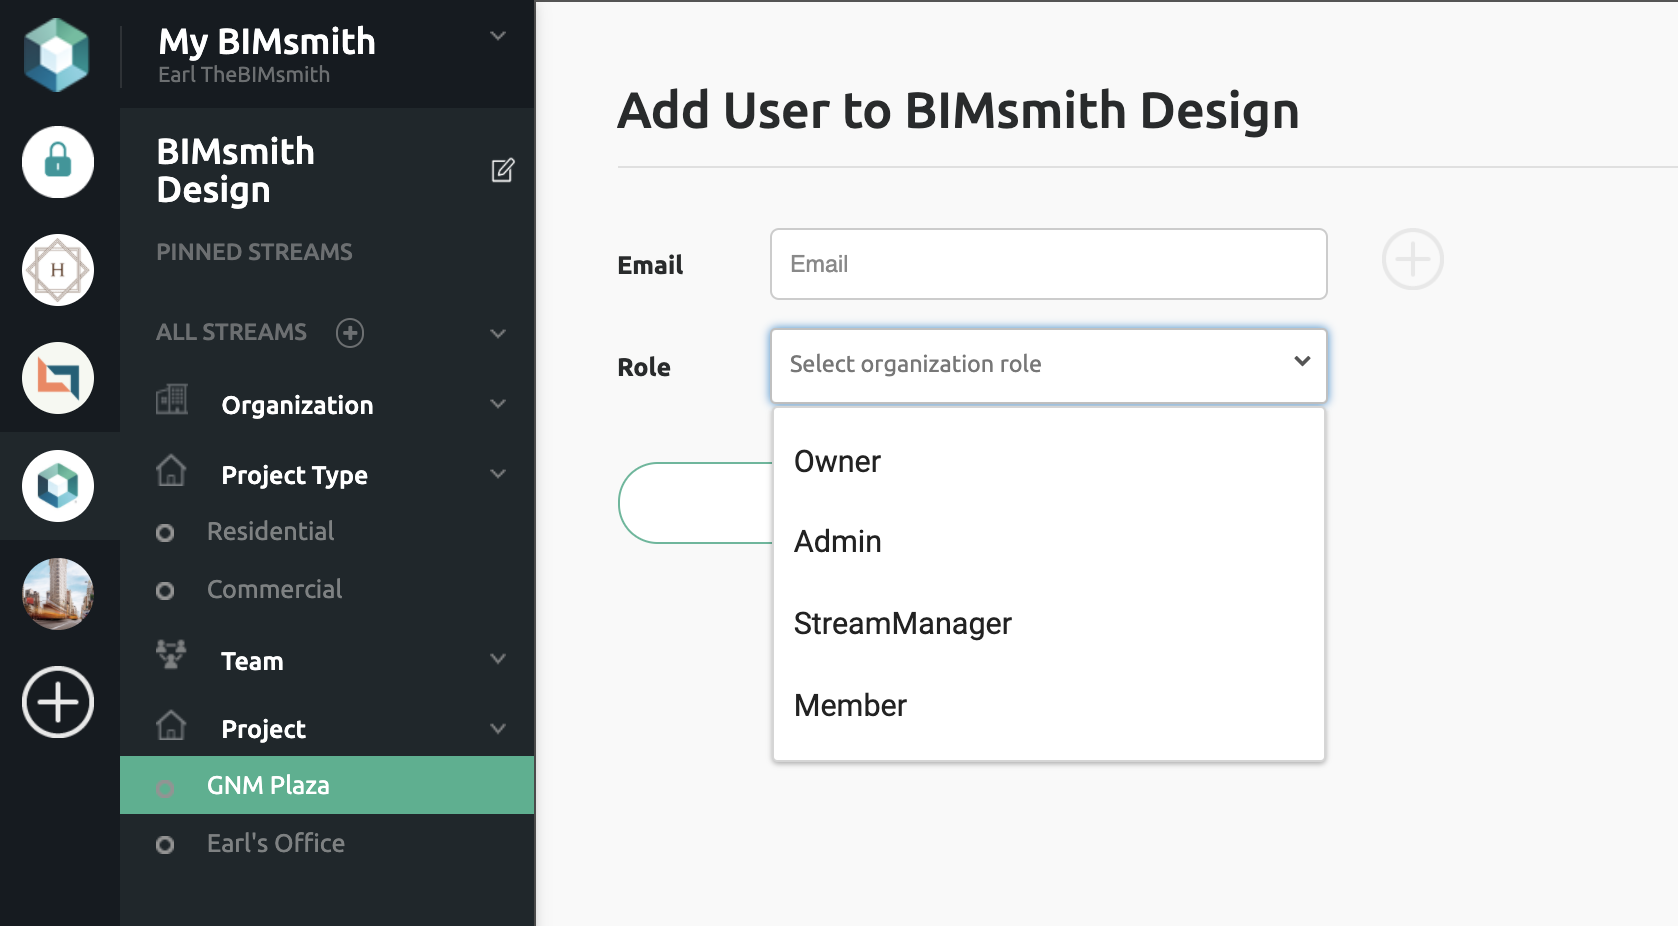
4. Assign permissions to that user.

5. The email address entered will receive an email invitation to join your Organization on BIMsmith.
If the user already has an account, they will be added when they log in. If they need to create an account for the first time, they will have access once they have done so.


