


Help
How can we help?
As a guest author on the BIMsmith Blog, adding a profile picture to your blog posts helps them feel more engaging and welcoming to new users. It helps remind them that there’s a real person behind the words, and will help them connect with the content better. Here’s how to quickly add a profile picture to your BIMsmith Blog posts.
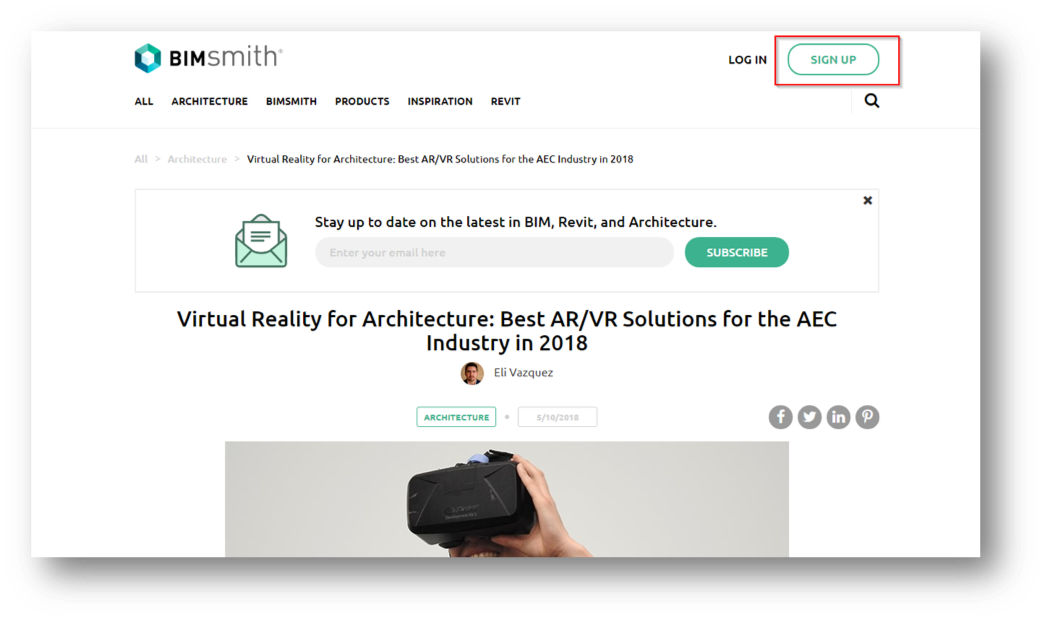
1. Create a free account on BIMsmith.
Author photos are connected to users on BIMsmith, so you will need to create a free account to add a profile photo. You can sign up on the Blog homepage or on BIMsmith Market.
Don’t worry about the User Type if you are not described by any of those professions. Feel free to select “Other” and then “Guest Blogger” if you’d like.

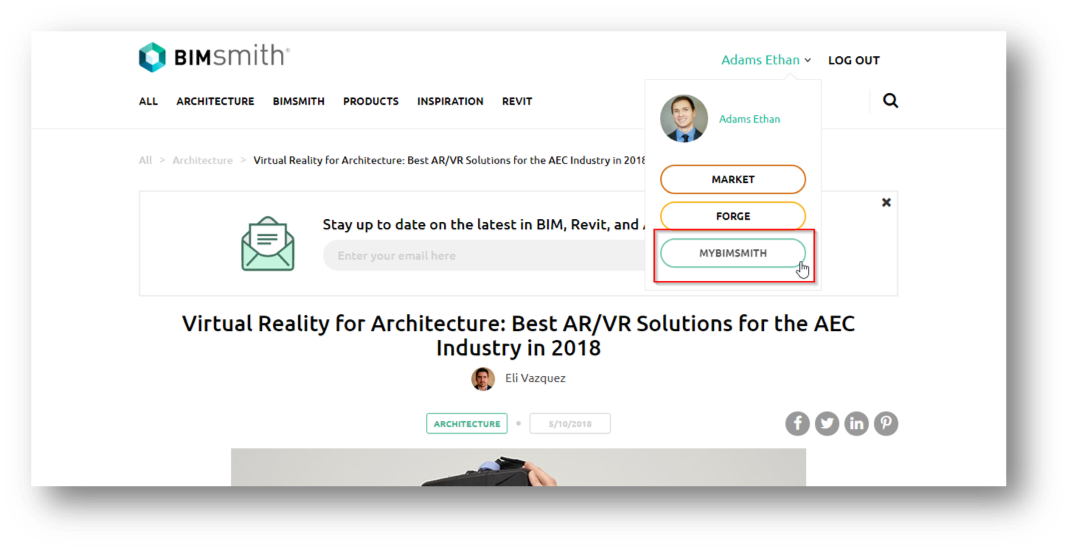
2. Once you're logged in, click on your email in the upper right corner to display the dropdown menu, then click on “MyBIMsmith.”
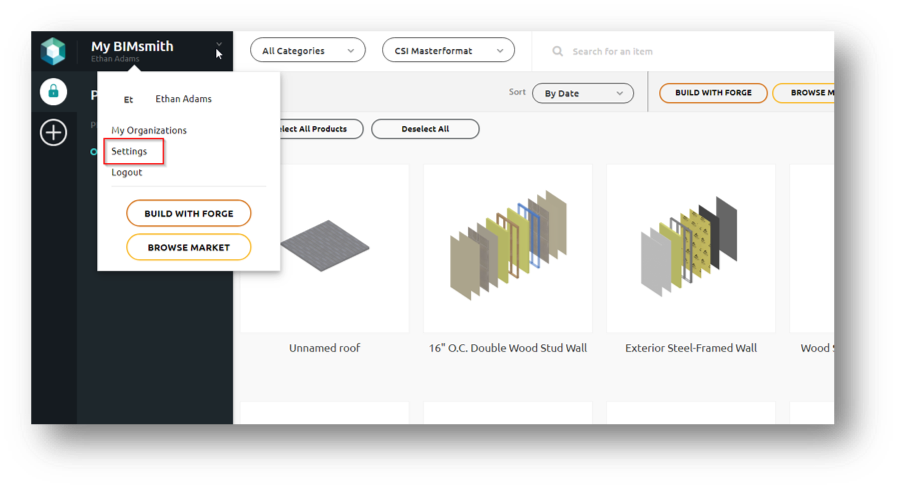
3. Once your MyBIMsmith dashboard has loaded, click on “MyBIMsmith” in the upper left corner, then click on “Settings.”
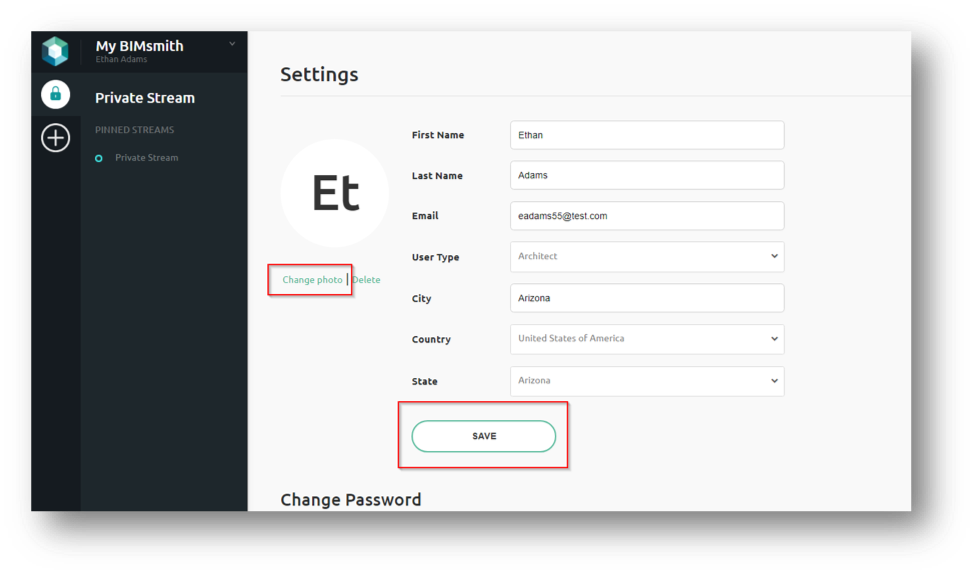
4. Click “Change Photo” to upload a photo from your computer. Once uploaded, click “Save” to save your changes.
If you have written a guest article, any articles you write for BIMsmith will now pull through this image associated with your email address automatically.
Featured Brands: